Taxonomy Creation in Retargetly DMP
 Updated
by bruno.morini@retargetly.com
Updated
by bruno.morini@retargetly.com
Hello! In this article we will review the new functionality of Retargetly DMP, through which it is possible to load Taxonomy files directly from the interface with a few simple steps.
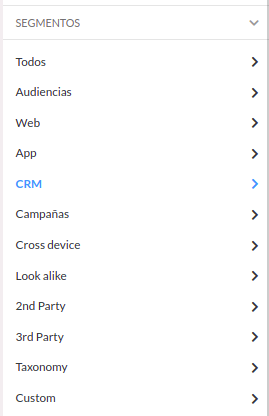
The first thing is to check if we have access to the "Taxonomy" button available in the menu on the left in the Segments part. If we do not have it, we must ask it at desk@retargetly.com:
Once there, we will have the possibility to download the Taxonomy file to complete it in .CSV format and then upload it again with the desired data:
The file will have the following columns:
- Segment ID
- Cluster
- Full Name
- Parent ID
- Segment Type
- Partner Segment ID
- Client ID
- Buyable
-TTL
We must complete the same information that we want to upload as a new Taxonomy.
IMPORTANT: Within Full Name, the nomenclatures to follow must always have the same order, and when we want to load a new data it must always follow that order, for example:
Telefonica MX > Tag Universal de Campaña > Campaña 23551364
Once the data that we want to upload is completed, we save the file in .CSV format and load it in this part: TAXONOMY - LIST JOBS
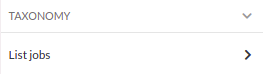
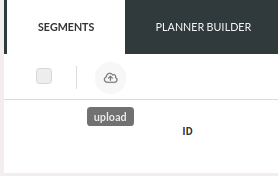
Where the upload button appears. There we can upload the file and leave it loading:
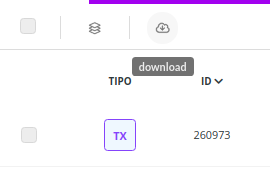
Once the load is completed, it will be shown in the detail of the segment if it was fully loaded without problems or if, on the contrary, it had some type of error:
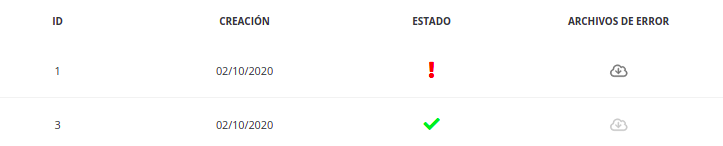
If the file had an error, we will be able to download a file where it will indicate where the error occurred to be able to solve it and then load it again.
If you have any questions or queries, please contact desk@retargetly.com